Master Perfect Hard Boiled Eggs: A Step-by-Step Guide
Few things are as universally loved and versatile as a perfectly cooked hard-boiled egg. From a quick, protein-packed snack to the star of a vibrant salad or a creamy deviled egg, its potential is limitless. Yet, despite its apparent simplicity, achieving
The good news? It doesn't have to be complicated. With a clear understanding of the process, a few simple tools, and a bit of precision, you can unlock the secret to flawless hard-boiled eggs every single time. This comprehensive guide will walk you through each step, debunk common myths, and equip you with the knowledge to create eggs that are a joy to peel, slice, and savor.
The Science Behind Perfect Hard Boiled Eggs
Before we dive into the how-to, let's briefly touch on the why. At its core, cooking an egg is about protein denaturation and coagulation. The proteins in the egg white (albumin) and yolk (vitellin) are delicate and respond predictably to heat. Too little heat, and they remain liquid; too much, and they become tough, rubbery, or chalky.
The key to achieving
Step-by-Step Guide to Achieving Perfect Hard Boiled Eggs
1. Choosing Your Eggs
While any egg can be hard-boiled, a few considerations can improve your results:
- Age Matters for Peeling: Counter-intuitively, eggs that are about a week to 10 days old are often easier to peel than very fresh ones. As an egg ages, its pH level increases, making the inner membrane less adherent to the shell.
- Temperature: Many chefs recommend starting with eggs directly from the refrigerator, as they are less prone to cracking. However, some prefer room temperature eggs to ensure more even cooking. For consistency, we will proceed with the cold start method using refrigerated eggs.
2. Essential Equipment
- A medium to large pot with a lid.
- A slotted spoon or spider strainer.
- A timer.
- A large bowl for an ice bath.
3. The Cold Start Method: Our Recommended Approach
This method minimizes cracking and ensures even cooking, leading to consistently
- Arrange Eggs in Pot: Gently place your eggs in a single layer at the bottom of your pot. Avoid overcrowding, as this can lead to uneven cooking and cracks. For best results, use a pot just large enough to hold your eggs in one layer.
- Add Water: Cover the eggs with cold tap water by about one inch. Adding eggs to already boiling water can shock them, leading to cracks and an uneven cook.
- Optional: Add Salt or Vinegar: Some people add a pinch of salt or a teaspoon of vinegar to the water. While not strictly necessary for preventing cracks, some believe it can help seal minor cracks if they occur, preventing the egg white from escaping.
- Bring to a Boil: Place the pot on high heat and bring the water to a rapid, rolling boil.
- Remove from Heat and Cover: As soon as the water reaches a full boil, immediately remove the pot from the heat. Cover it tightly with a lid.
4. Cooking Time: The Key to Perfection
This is where precision comes in. The exact cooking time will depend on your desired yolk consistency. The residual heat in the covered pot will continue to cook the eggs gently.
- For a Jammy Yolk (Soft but Set): Let sit for 6-7 minutes. Ideal for ramen or toast.
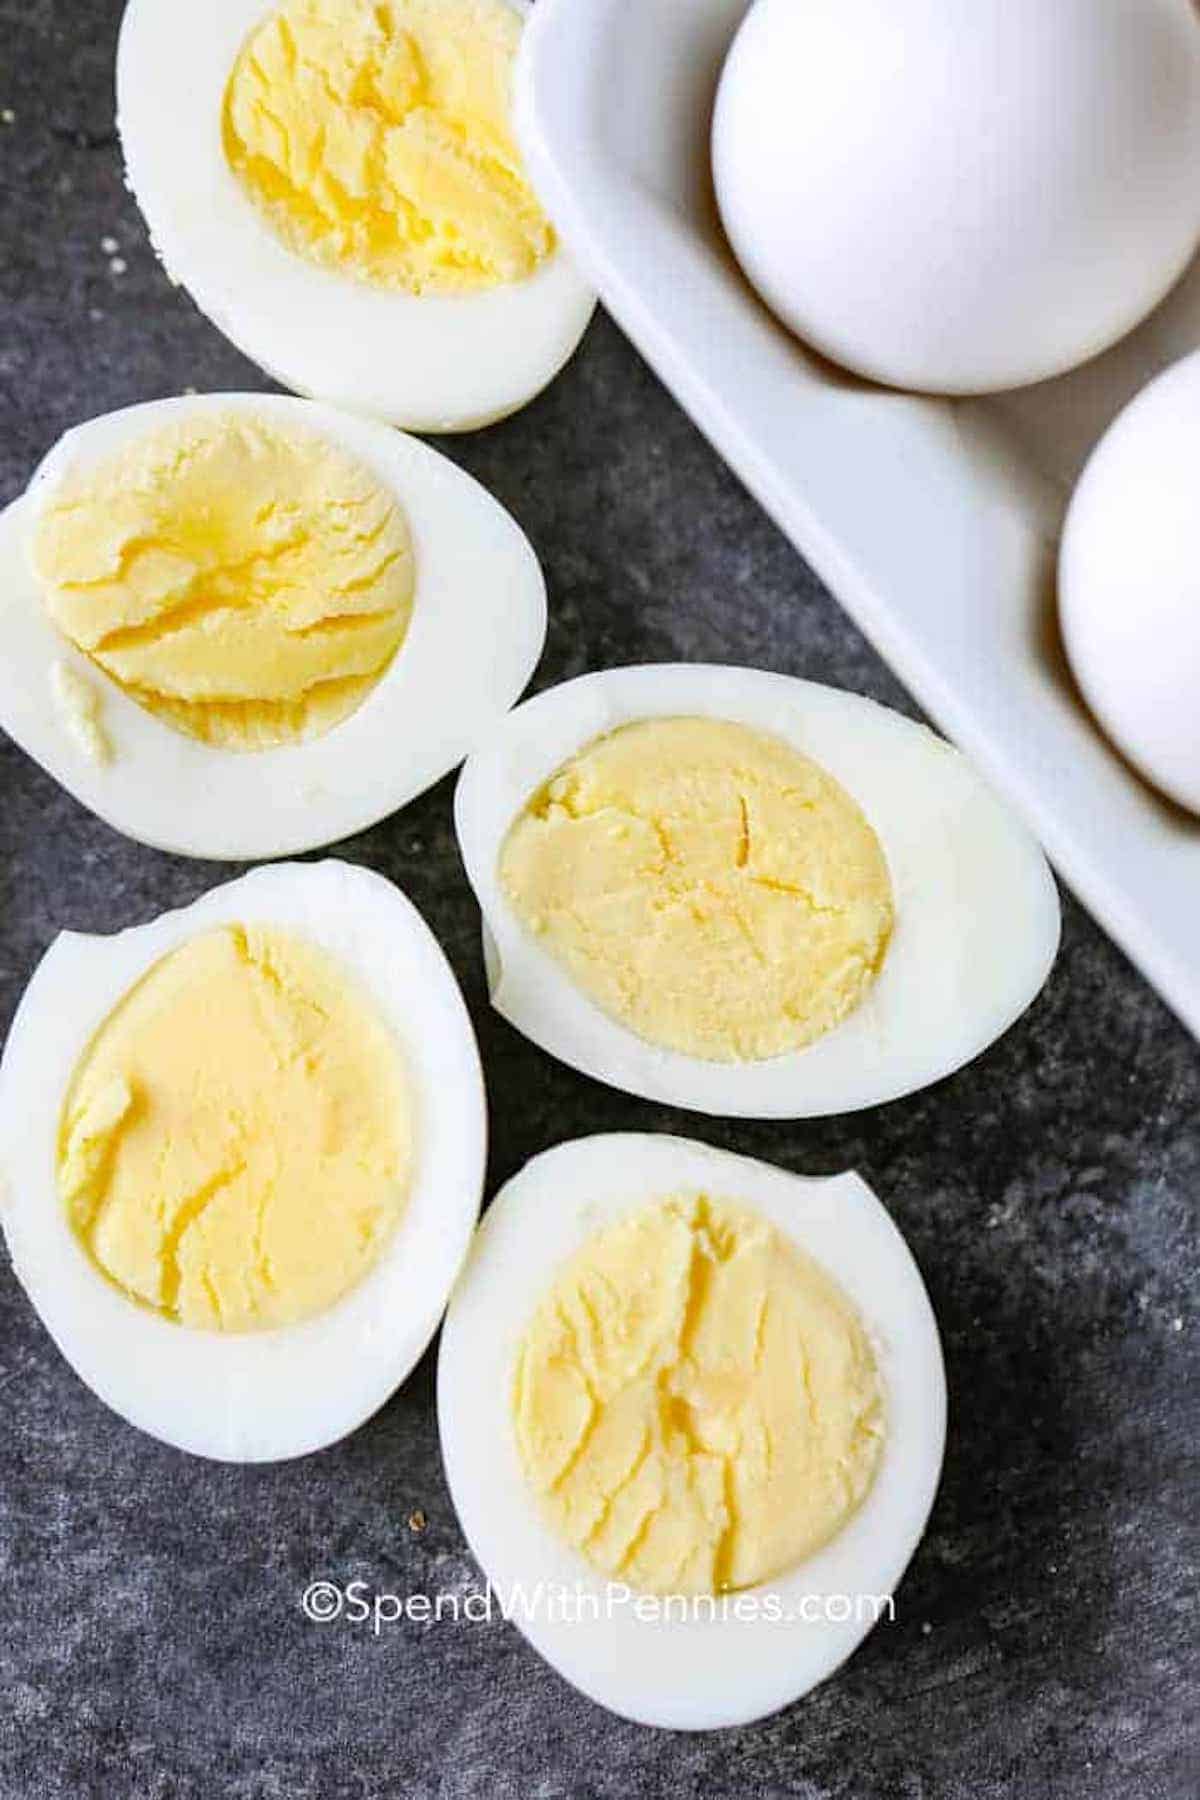
- For a Creamy, Firm Yolk (Classic Hard-Boiled): Let sit for 9-10 minutes. The white will be completely set, and the yolk will be firm but still moist and golden. This is the sweet spot for
perfect hard boiled eggs for salads and snacking. - For a Fully Firm Yolk (Traditional Hard-Boiled): Let sit for 12-13 minutes. The yolk will be completely solid and crumbly, though still flavorful.
Pro Tip: Set a timer! Even an extra minute can change the texture and appearance significantly.
5. The Ice Bath: A Crucial Step for Perfect Hard Boiled Eggs
Once your timer goes off, this step is non-negotiable for
- Prepare Ice Bath: While the eggs are cooking, fill a large bowl with ice and cold water.
- Transfer Eggs: Immediately transfer the cooked eggs from the hot water to the ice bath using your slotted spoon. Be gentle to avoid cracking the shells.
- Cool Completely: Allow the eggs to cool in the ice bath for at least 10-15 minutes. This rapid cooling halts the cooking process, preventing overcooked, rubbery whites and that dreaded green ring. It also causes the egg to contract slightly, pulling away from the shell, which significantly aids in peeling.
Common Pitfalls and How to Avoid Them
The Dreaded Green Ring Around the Yolk
This grayish-green discoloration around the yolk is a common complaint and a clear sign of overcooking. It occurs when sulfur in the egg white reacts with iron in the yolk, forming ferrous sulfide. While harmless to eat, it's visually unappealing and indicates a chalky, dry yolk.
Solution: The ice bath is your best friend here! By stopping the cooking process precisely at the right moment, you prevent this chemical reaction. Stick to the recommended cooking times, especially for creamy yolks. For more in-depth solutions to this common issue, check out our guide on No More Green Yolks: Perfect Hard Boiled Eggs Guaranteed.
Difficulty Peeling
This is perhaps the most frustrating hard-boiled egg problem. Bits of egg white stubbornly clinging to the shell, leaving you with cratered, unsightly eggs. As mentioned earlier, very fresh eggs are notorious for being difficult to peel because their membranes adhere tightly to the shell.
Solution: Use eggs that are at least a week old. The cold start method followed by an immediate ice bath is also incredibly effective. The rapid cooling causes the egg to shrink, creating a small air gap between the egg and the shell. To peel, gently tap the egg on a hard surface to crack it all over, then roll it between your hands. Start peeling from the wider end, where the air pocket is typically located. Peeling under cold running water can also help the shell slide off more easily. For a deep dive into mastering this challenge, read our Secrets to Perfectly Peelable Hard Boiled Eggs Revealed.
Cracked Shells During Cooking
Cracks usually happen due to rapid temperature changes, overcrowding the pot, or very thin eggshells.
Solution: Always start with cold water and gradually bring it to a boil. Avoid overcrowding the pot; ensure eggs are in a single layer. Adding a pinch of salt to the water can sometimes help seal small cracks, but prevention is better.
Rubbery Whites or Chalky Yolks
These textures are direct consequences of overcooking. The proteins become tough and dry when subjected to excessive heat.
Solution: Adhere strictly to the recommended cooking times for your desired doneness, and always transfer eggs immediately to an ice bath once the cooking time is up. Your timer is your best friend!
Creative Ways to Enjoy Your Perfect Hard Boiled Eggs
Once you've mastered the art of
- Simple Snack: A sprinkle of salt and pepper is all you need for a healthy, protein-rich bite.
- Deviled Eggs: The ultimate party appetizer. Mix the creamy yolks with mayo, mustard, and your favorite seasonings.
- Egg Salad: Chop them up, mix with mayonnaise, celery, and herbs for a classic sandwich filling.
- Salad Topping: Slice them onto a Cobb salad, Niçoise salad, or even a simple green salad for added texture and protein.
- Ramen or Pho: A jammy hard-boiled egg is an essential topping for many Asian noodle soups.
- Curries and Stews: Whole or halved hard-boiled eggs can absorb the flavors of rich sauces beautifully.
- Sandwiches & Wraps: Elevate a simple sandwich with slices of hard-boiled egg.
Mastering
